Multifactor Authentication in Rails with Rodauth
Multi-factor authentication or MFA (generalized two-factor authentication or 2FA) is a method of authentication where the user is required to provide two or more pieces of evidence (“factors”) in order to be granted access. Typically the user would first prove knowledge of something only they know (e.g. their password), and then prove posession of something only they own (e.g. another device). This provides an extra layer of security for the user’s account.
Most common multifactor authentication methods include:
-
TOTP (Time-based One-Time Passwords) – user has an app installed on their device that displays the authentication code, which is refreshed every 30 seconds
-
SMS codes – user receives authentication codes on their phone via SMS when the application requests them
-
Recovery codes – user is given a fixed set of one-time codes they can enter when logging in (this is typically used as a backup method)
-
WebAuthn – user authenticates themselves using a security key or built-in platform biometric sensors (e.g. fingerprint)
In this article, I want to show you how to add multifactor authentication to a Rails app using Rodauth, which has built-in support for each of the multifactor authentication methods mentioned above. Compared to alternatives1, Rodauth provides a much more integrated experience by shipping with complete endpoints, default HTML templates, session management, lockout logic and more2. To keep the tutorial focused, we’ll be implementing just the first three methods, as they’re by far the most common.
We’ll be using the rodauth-rails gem, and we’ll be continuing off of the application we started building in my previous article. The goal functionality: allow users to set up TOTP as their primary MFA method, and use SMS codes and recovery codes as backup MFA methods.
TOTP
The TOTP functionality is provided by Rodauth’s otp feature. It
depends on the rotp and rqrcode gems, so let’s first install those:
$ bundle add rotp rqrcode
Next, we need to create the required database table. For this we’ll use the migration generator provided by rodauth-rails:
$ rails generate rodauth:migration otp
# create  db/migrate/20201214200106_create_rodauth_otp.rb

$ rails db:migrate
# == 20201214200106 CreateRodauthOtp: migrating =======================
# -- create_table(:account_otp_keys)
# == 20201214200106 CreateRodauthOtp: migrated ========================
Now we can enable the otp feature in our Rodauth configuration:
# app/misc/rodauth_main.rb
class RodauthMain < Rodauth::Rails::Auth
  configure do
    # ...
    enable :otp
  end
end
This adds the following routes to our application:
/otp-auth– authenticate via TOTP code/otp-setup– set up TOTP authentication/otp-disable– disable TOTP authentication/multifactor-manage– set up or disable available MFA methods/multifactor-auth– authenticate via available MFA methods/multifactor-disable– disable all MFA methods
To allow the user to configure MFA, let’s display a link to the
/multifactor-manage route for managing MFA methods in our views:
<!-- app/views/application/_navbar.html.erb -->
<% if rodauth.logged_in? %>
  <!-- ... --->
  <%= link_to "Manage MFA", rodauth.two_factor_manage_path, class: "dropdown-item" %>
  <!-- ... --->
<% end %>
Now when the user logs in and clicks on “Manage MFA”, they’ll get redirected to the OTP setup page that Rodauth provides out-of-the-box3:
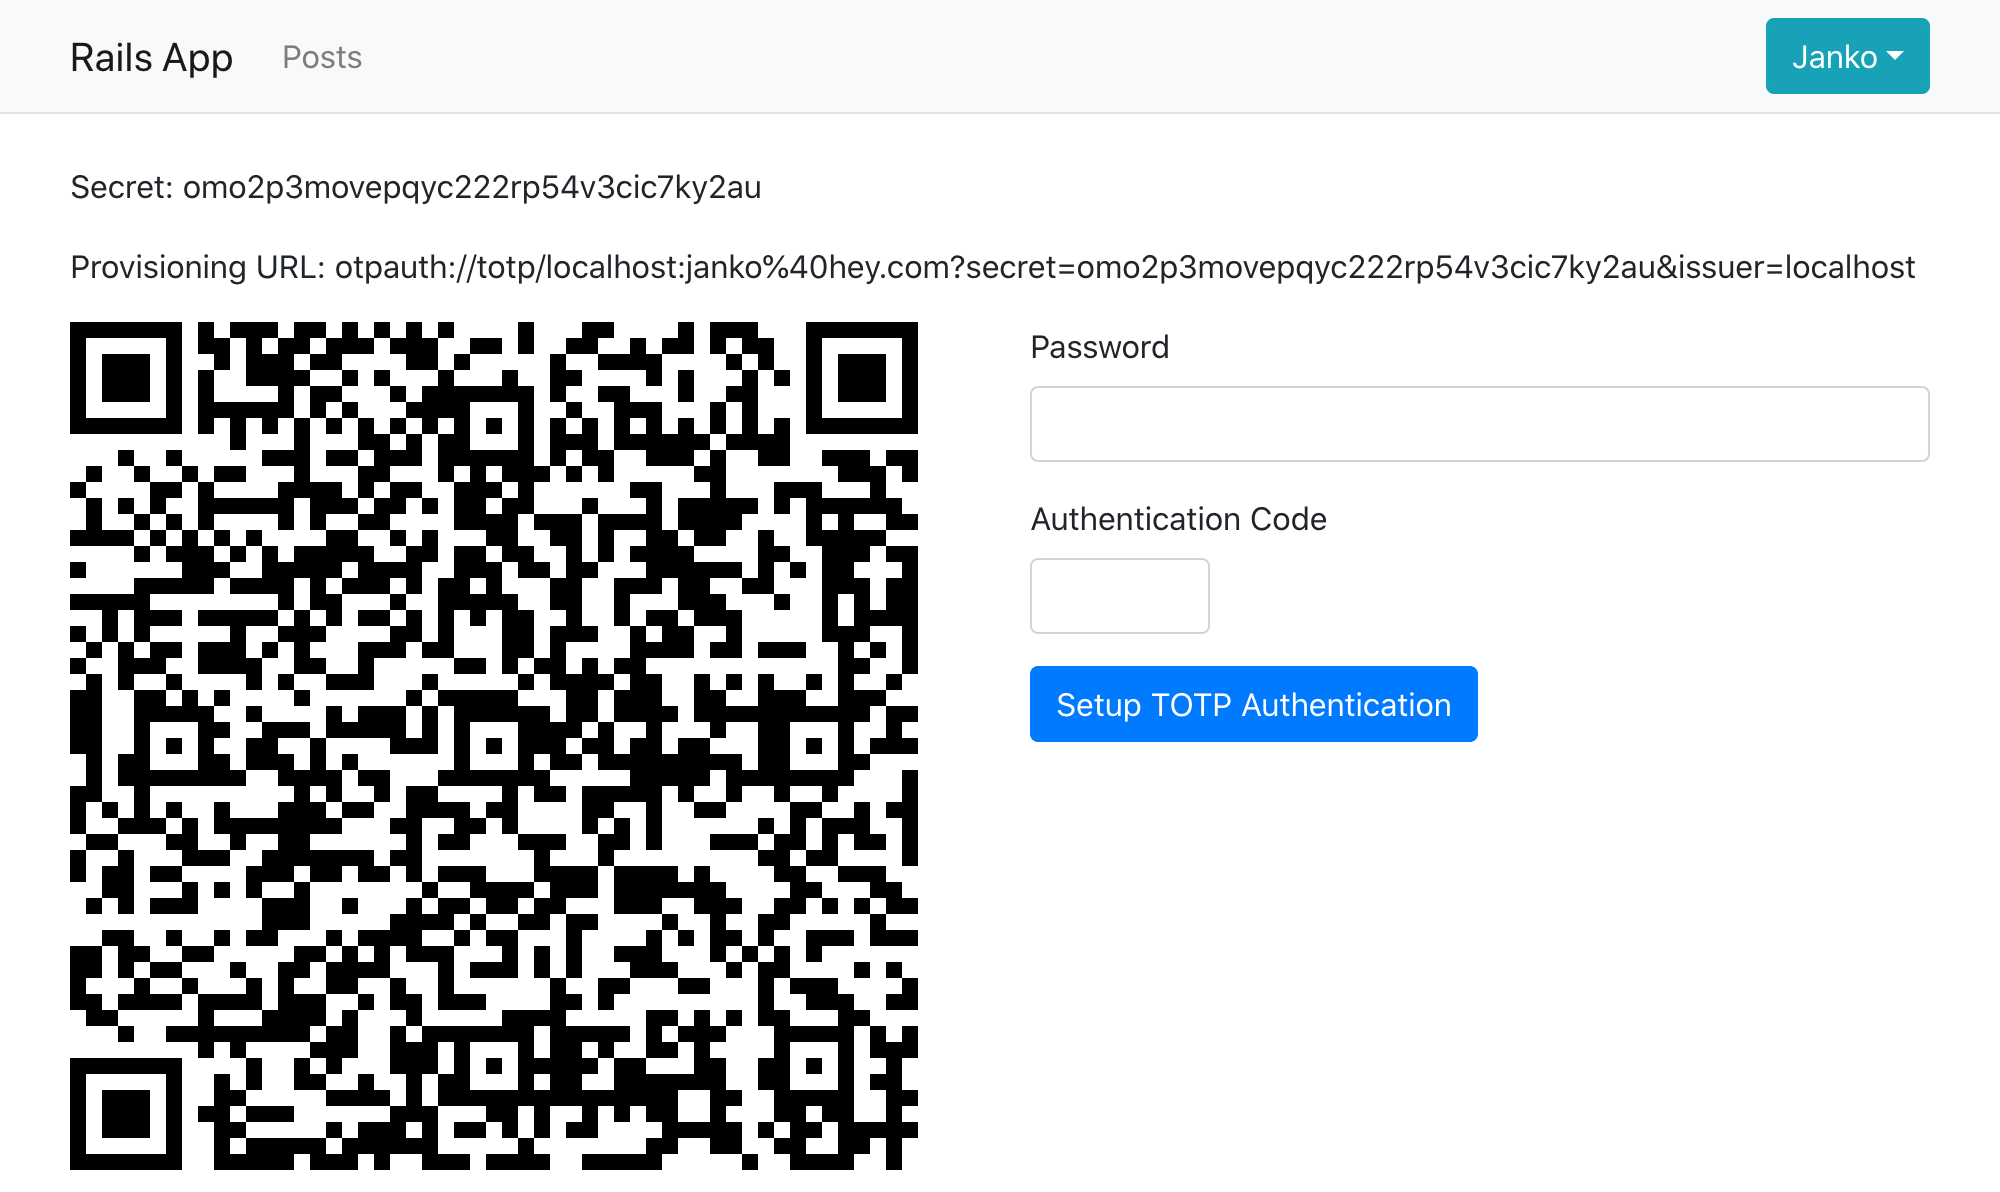
The user can now scan the QR code using an authenticator app such as Google Authenticator, Microsoft Authenticator or Authy, and enter the OTP code (along with their current password) to finish setting up OTP. As a developer, you can generate the code from the OTP secret using the ROTP gem:
$ rotp --secret omo2p3movepqyc222rp54v3cic7ky2au
409761
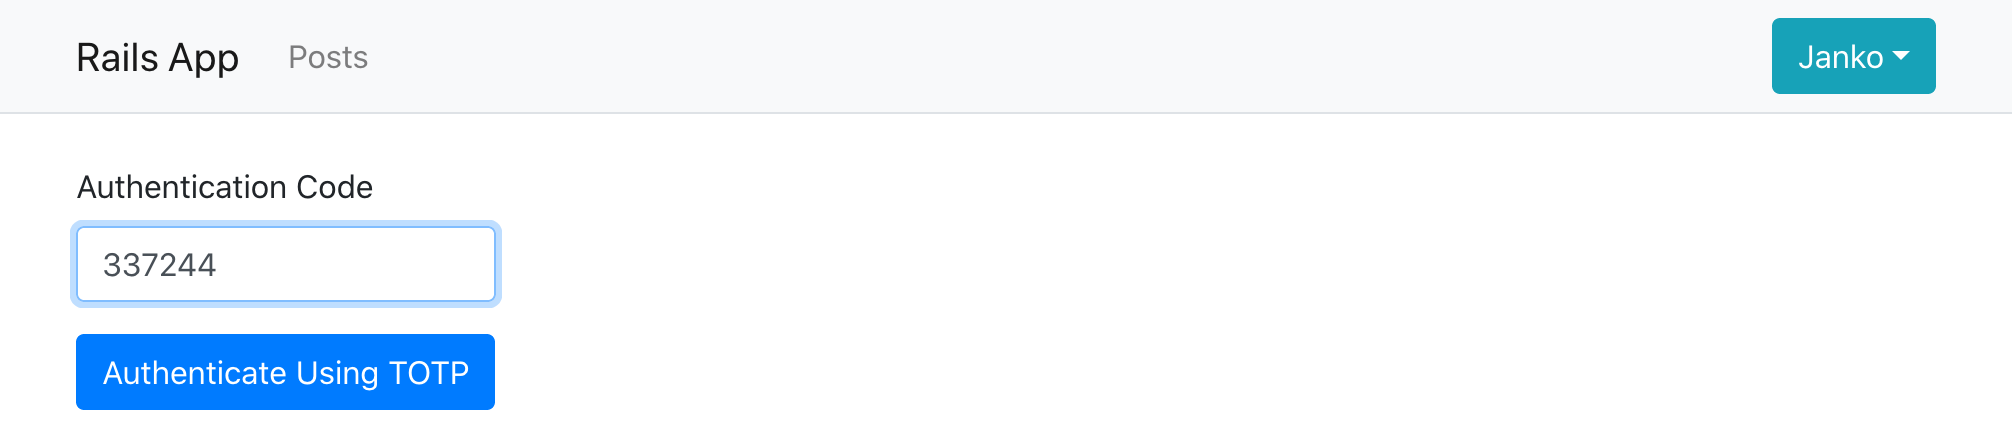
When the user with OTP set up logs in the next time, we want them to be automatically redirected to the OTP auth page. We can achieve this by requiring logged in users that have MFA set up to authenticate with 2nd factor, and tweaking the flash messages to make it feel like part of one signin:
# app/misc/rodauth_app.rb
class RodauthApp < Rodauth::Rails::App
  # ...
  route do |r|
    # ...
    # require MFA if the user is logged in and has MFA setup
    if rodauth.uses_two_factor_authentication?
      rodauth.require_two_factor_authenticated
    end
  end
end
# app/misc/rodauth_main.rb
class RodauthMain < Rodauth::Rails::Auth
  configure do
    # ...
    # don't show error message when redirected after login
    two_factor_need_authentication_error_flash { flash[:notice] == login_notice_flash ? nil : super() }
    # show generic authentication message
    two_factor_auth_notice_flash { login_notice_flash }
  end
end
Recovery codes
After the user sets up TOTP, it’s recommended to also generate a set of
“recovery” codes for them to save somewhere, which they can use on login in
case they lose access to their TOTP device. This functionality is provided by
Rodauth’s recovery_codes feature.
Let’s start by creating the required database table:
$ rails generate rodauth:migration recovery_codes
# create  db/migrate/20201214200106_create_rodauth_recovery_codes.rb

$ rails db:migrate
# == 20201217071036 CreateRodauthRecoveryCodes: migrating =======================
# -- create_table(:account_recovery_codes, {:primary_key=>[:id, :code]})
# == 20201217071036 CreateRodauthRecoveryCodes: migrated ========================
And enabling the recovery_codes feature in our Rodauth configuration:
# app/misc/rodauth_main.rb
class RodauthMain < Rodauth::Rails::Auth
  configure do
    # ...
    enable :otp, :recovery_codes
  end
end
This adds the following routes to our app:
/recovery-auth– authenticate via a recovery code/recovery-codes– view & add recovery codes
We’ll now override the after_otp_setup hook to display recovery codes to the
user after they’ve successfully set up TOTP, instead of the default redirect.
# app/misc/rodauth_main.rb
class RodauthMain < Rodauth::Rails::Auth
  configure do
    # ...
    # automatically generate recovery codes after enabling first MFA method
    auto_add_recovery_codes? true
    # automatically remove recovery codes after disabling last MFA method
    auto_remove_recovery_codes? true
    # display recovery codes after TOTP setup
    after_otp_setup do
      set_notice_now_flash "#{otp_setup_notice_flash}, please make note of your recovery codes"
      return_response add_recovery_codes_view
    end
  end
end
We’ll also override the default Rodauth template to display the recovery codes
in a nicer way. For convenience, we’ll add a download link for the recovery
codes as well. Instead of adding a new endpoint, which would have to be
password-protected to maintain security, we’ll just implement the download link
in plain HTML using a data URL and download attribute.
$ rails generate rodauth:views recovery_codes
<!-- app/views/rodauth/add_recovery_codes.html.erb -->
<% content_for :title, rodauth.add_recovery_codes_page_title %>

<% if rodauth.recovery_codes.any? %>
  <p class="my-3">
    Copy these recovery codes to a safe location.
    You can also download them <%= link_to "here", "data:,#{rodauth.recovery_codes.join("\n")}", download: "myapp-recovery-codes.txt" %>.
  </p>

  <div class="d-inline-block mb-3 border border-info rounded px-3 py-2">
    <% rodauth.recovery_codes.each_slice(2) do |code1, code2| %>
      <div class="row text-info text-left">
        <div class="col-lg my-1 font-monospace"><%= code1 %></div>
        <div class="col-lg my-1 font-monospace"><%= code2 %></div>
      </div>
    <% end %>
  </div>
<% end %>

<!-- Used for filling in missing recovery codes later on -->
<% if rodauth.can_add_recovery_codes? %>
  <%== rodauth.add_recovery_codes_heading %>
  <%= render template: "rodauth/recovery_codes", layout: false %>
<% end %>
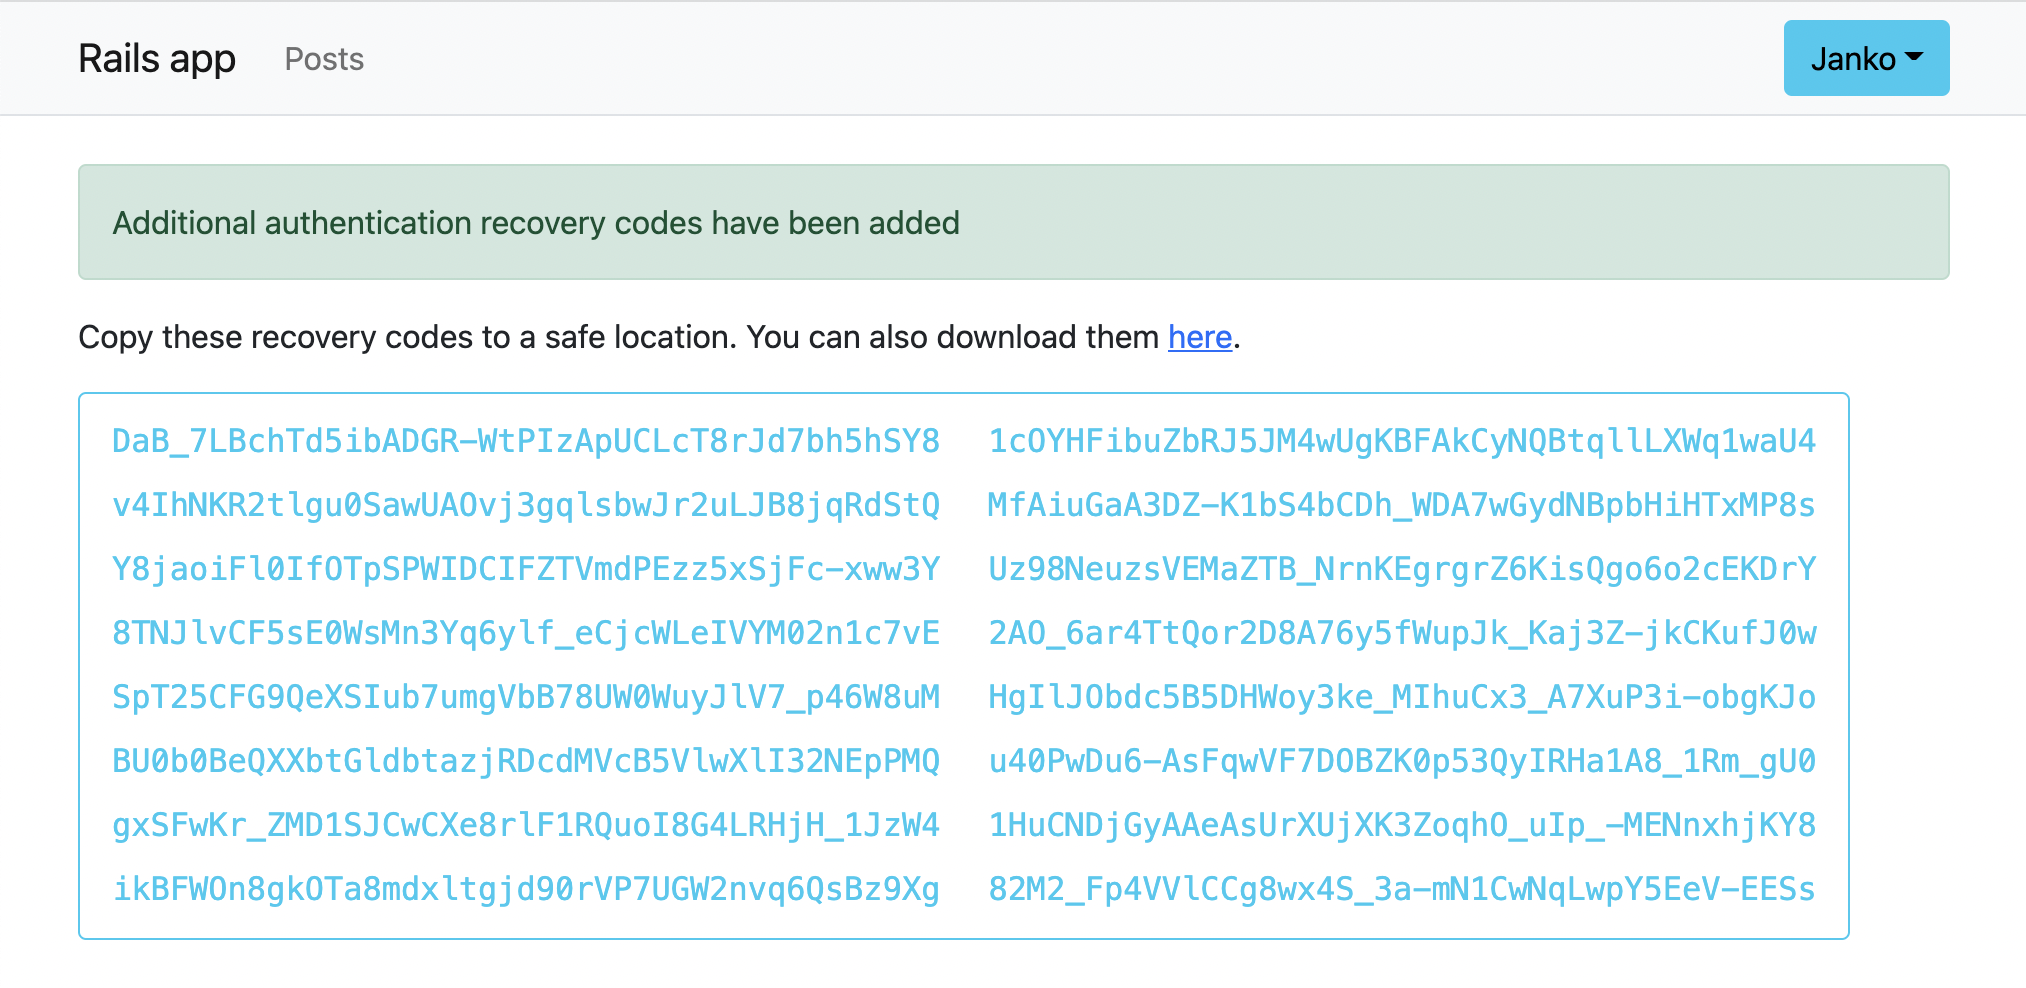
When the user now sets up TOTP, they will be shown a page like this:
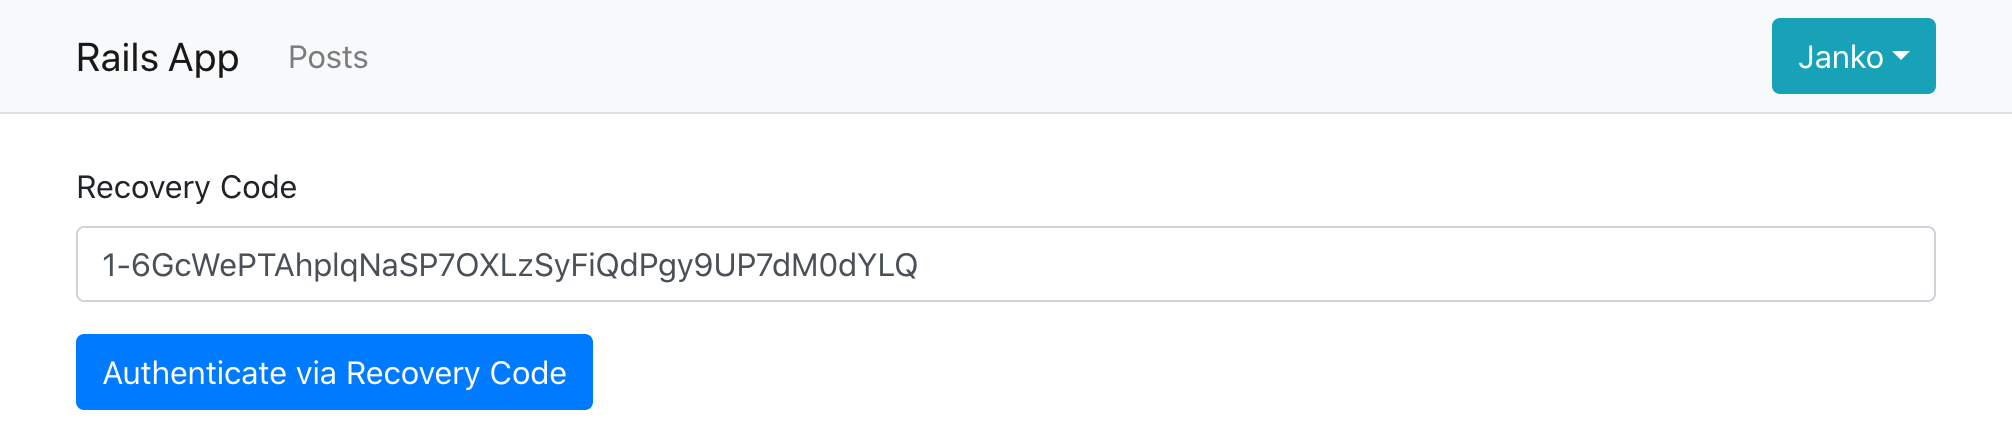
And when they log into their account the next time, on the multifactor auth page they can choose to enter a recovery code instead of TOTP.
SMS codes
In addition to TOTP, it’s good practice to also provide the ability to use SMS
codes for 2nd factor authentication. Rodauth provides a specialized
sms_codes feature for this.
To set it up, we again create the required database table:
$ rails generate rodauth:migration sms_codes
# create  db/migrate/20201219173710_create_rodauth_sms_codes.rb

$ rails db:migrate
# == 20201219173710 CreateRodauthSmsCodes: migrating ==================
# -- create_table(:account_sms_codes)
# == 20201219173710 CreateRodauthSmsCodes: migrated ===================
And enable the sms_codes feature in the Rodauth configuration:
# app/misc/rodauth_main.rb
class RodauthMain < Rodauth::Rails::Auth
  configure do
    # ...
    enable :otp, :recovery_codes, :sms_codes
  end
end
This adds the following routes to our app:
/sms-request– request the SMS code to be sent/sms-auth– authenticate via an SMS code/sms-setup– set up SMS codes authentication/sms-confirm– confirm the provided phone number/sms-disable– disable SMS codes authentication
When an SMS code is requested, Rodauth calls the sms_send method with the
configured phone number and a corresponding text message. This method isn’t
defined by default, since Rodauth doesn’t know how we want to send the SMS,
instead we’re expected to implement sms_send:
# app/misc/rodauth_main.rb
class RodauthMain < Rodauth::Rails::Auth
  configure do
    # ...
    sms_send do |phone, message|
      # we need to implement this
    end
  end
end
We’ll use Twilio for sending SMS messages. Assuming we’ve set up an account, we’ll add the account SID, auth token, and phone number to Rails credentials:
$ rails credentials:edit
twilio:
  account_sid: <YOUR_ACCOUNT_SID>
  auth_token: <YOUR_AUTH_TOKEN>
  phone_number: <YOUR_PHONE_NUMBER>
Next, we’ll install the twilio-ruby gem, and create a wrapper class for the Twilio client that uses the configured credentials:
$ bundle add twilio-ruby
# app/misc/twilio_client.rb
class TwilioClient
  Error              = Class.new(StandardError)
  InvalidPhoneNumber = Class.new(Error)

  def initialize
    @account_sid = Rails.application.credentials.twilio.account_sid!
    @auth_token = Rails.application.credentials.twilio.auth_token!
    @phone_number = Rails.application.credentials.twilio.phone_number!
  end

  def send_sms(to, message)
    client.messages.create(from: @phone_number, to: to, body: message)
  rescue Twilio::REST::RestError => error
    # more details here: https://www.twilio.com/docs/api/errors/21211
    raise TwilioClient::InvalidPhoneNumber, error.message if error.code == 21211
    raise TwilioClient::Error, error.message
  end

  def client
    Twilio::REST::Client.new(@account_sid, @auth_token)
  end
end
Finally, we’ll implement sms_send using our new TwilioClient class. We’ll
convert SMS sending errors into validation errors, making sure we roll back
the wrapping database transaction to prevent phone number & code from being
persisted:
# app/misc/rodauth_main.rb
class RodauthMain < Rodauth::Rails::Auth
  configure do
    # ...
    sms_send do |phone, message|
      twilio = TwilioClient.new
      twilio.send_sms(phone, message)
    rescue TwilioClient::Error => error
      db.rollback_on_exit
      throw_error_status(422, sms_phone_param, sms_invalid_phone_message) if error.is_a?(TwilioClient::InvalidPhoneNumber)
      throw_error_status(500, sms_phone_param, "sending the SMS code failed")
    end
  end
end
When the user now visits the SMS authentication setup page on the multifactor manage page, they can enter their phone number and password, and then enter the SMS code they received to finish the SMS authentication setup.
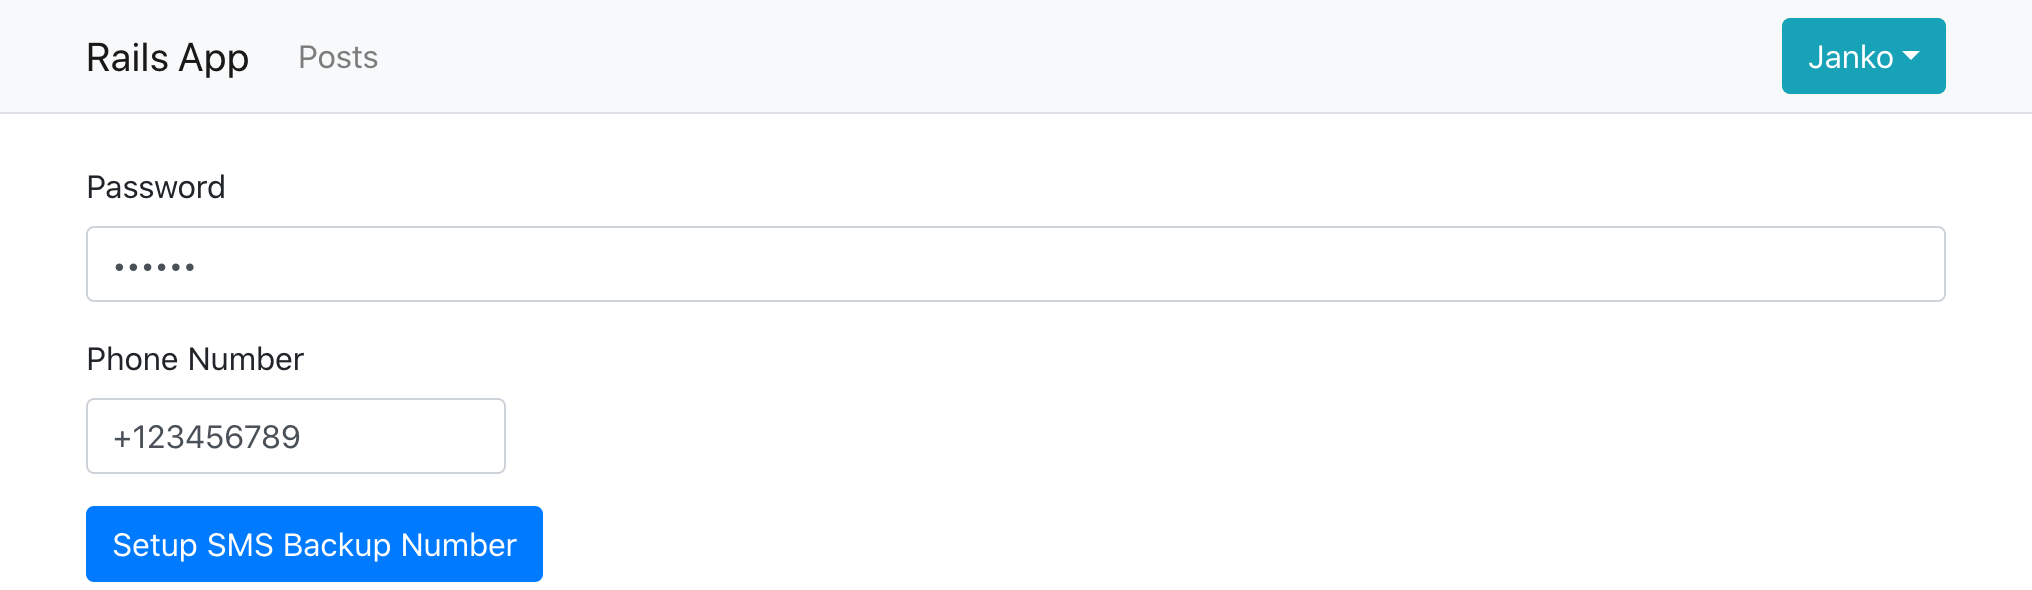
Afterwards, when the user logs in the next time, in addition to authenticating via TOTP or a recovery code, they’ll now also be able to choose to authenticate via SMS.
Disabling multifactor authentication
In addition to setup and authentication, Rodauth also provides endpoints for disabling any MFA method, which require the user to confirm their password:
/otp-disable– disable OTP authentication/sms-disable– disable multifactor authentication/multifactor-disable– disable all multifactor methods
The links for disabling MFA methods that have previously been set up are automatically displayed on the multifactor manage page:
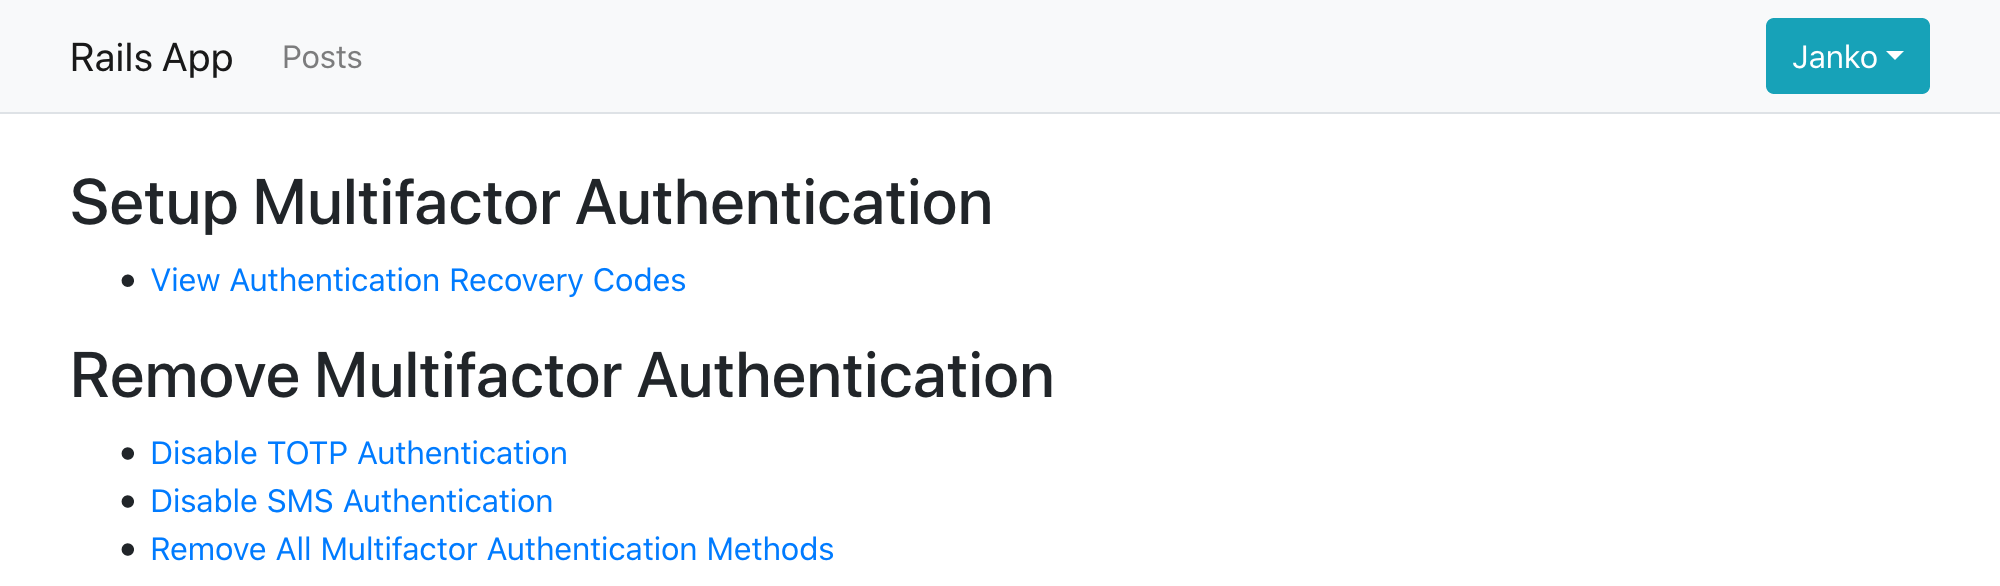
Disabling a MFA method will take care of deleting any records associated to that account from the corresponding database table.
Closing words
In this tutorial we’ve shown how to add multifactor authentication functionality in Rails with Rodauth and rodauth-rails. We’ve enabled the user to set up TOTP as their primary MFA method, after which they receive a set of recovery codes, and have the possibility to also set up SMS as a backup MFA method.
We’ve seen that Rodauth ships with complete endpoints and default HTML templates for managing multiple MFA methods, and generally provides a much more integrated experience compared to the alternatives. Given that multifactor authentication is becoming an increasingly common requirement, it’s very useful to have a framework that supports it with the same level of standard as the other authentication features.
-
At the time of writing, most popular alternatives are devise-two-factor, active_model_otp, and two_factor_authentication. ↩
-
See the source code for OTP, SMS Codes, Recovery Codes, and Two Factor Base for more details. ↩
-
You can override the default template by running
rails generate rodauth:views otpand modifyingapp/views/rodauth/otp_setup.html.erb. ↩